
Apron assembly repair is a vital service for classic car owners, ensuring structural integrity and aesthetic appeal. Regular inspection and prompt action are key. Meticulous surface preparation, including cleaning, sanding, and degreasing, is essential for optimal results. The process involves cutting and stitching replacement fabric for a seamless fit, maintaining the vehicle's visual charm.
In any commercial or industrial setting, a well-maintained apron is essential for safety and efficiency. This article delves into the crucial aspect of apron assembly repair, offering a comprehensive guide to understanding common repair needs and effective surface preparation techniques. We break down the process step-by-step, ensuring optimal results. Learn how to identify issues, prepare surfaces properly, and execute repairs efficiently, keeping your apron in top condition for enhanced productivity.
- Understanding Apron Assembly Repair Needs
- Surface Preparation Techniques for Optimal Results
- Step-by-Step Guide to Efficient Apron Repairs
Understanding Apron Assembly Repair Needs

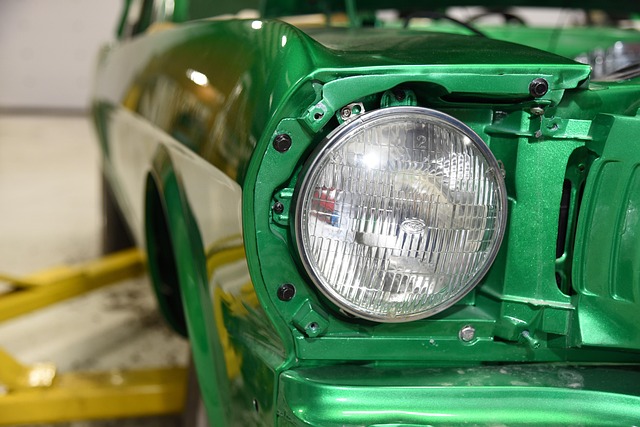
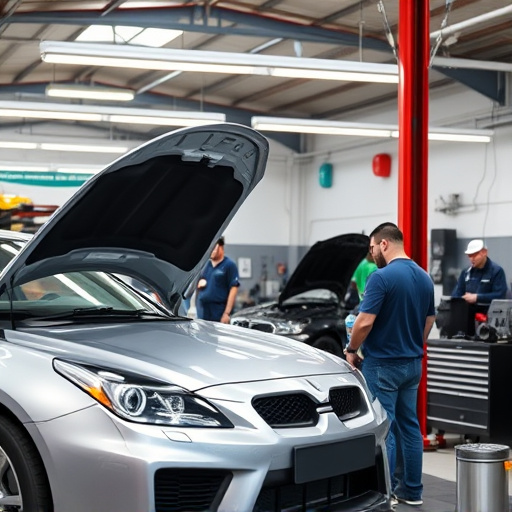
Apron Assembly Repair is a specialized service often required in the realm of automotive restoration. Whether it’s a vintage Mercedes-Benz or any other classic vehicle, the apron, which serves as a protective barrier around the engine and transmission, can suffer wear and tear over time. Understanding the repair needs involves recognizing signs like cracks, corrosion, or misalignments that may compromise its structural integrity. Regular inspection is key to preventing major issues; however, when damage occurs, prompt action is crucial.
In many cases, surface preparation plays a significant role in effective apron assembly repair. This involves cleaning the affected area, removing any loose debris or old sealant, and ensuring the surface is smooth and free from imperfections. For auto glass replacement or repair, this preparation step is even more critical as it ensures a secure bond between the new or repaired apron and the vehicle’s undercarriage, enhancing both functionality and aesthetics in the long run.
Surface Preparation Techniques for Optimal Results

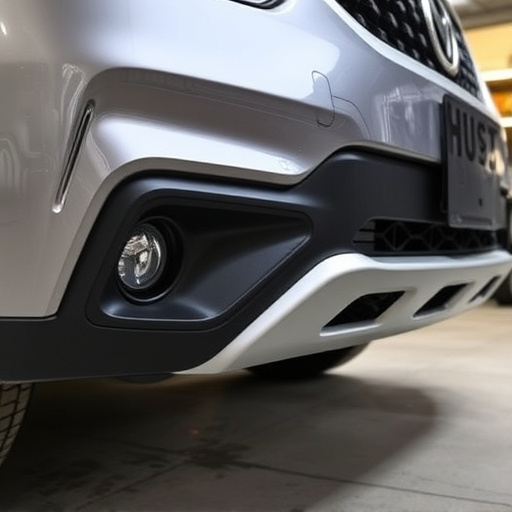
Achieving optimal results during apron assembly repair heavily relies on meticulous surface preparation. Before any repairs or refinishing, it’s crucial to clean the area thoroughly, removing all dirt, grease, and debris. This step is essential as contaminants can hinder adhesion and compromise the final aesthetic. Techniques such as sanding, degreasing, and using specialized cleaning solutions are employed to ensure a clean and smooth surface.
For classic car restoration projects, this preparation becomes even more critical. Scratch repair and refinishing require a pristine base. Professionals often use fine-grit sandpaper to buff out imperfections and create a uniform texture. This meticulous process is then followed by priming and painting, ensuring the new finish adheres properly. Proper surface preparation not only enhances the visual appeal but also prolongs the lifespan of the apron assembly repair and automotive repair services provided.
Step-by-Step Guide to Efficient Apron Repairs

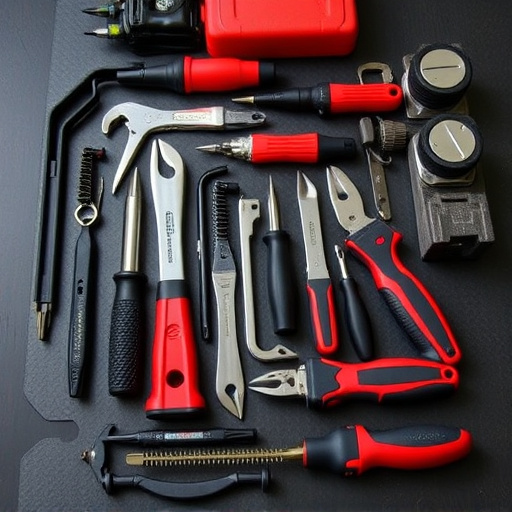
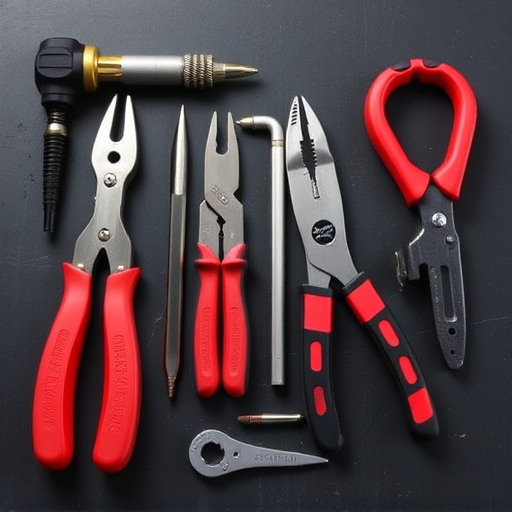
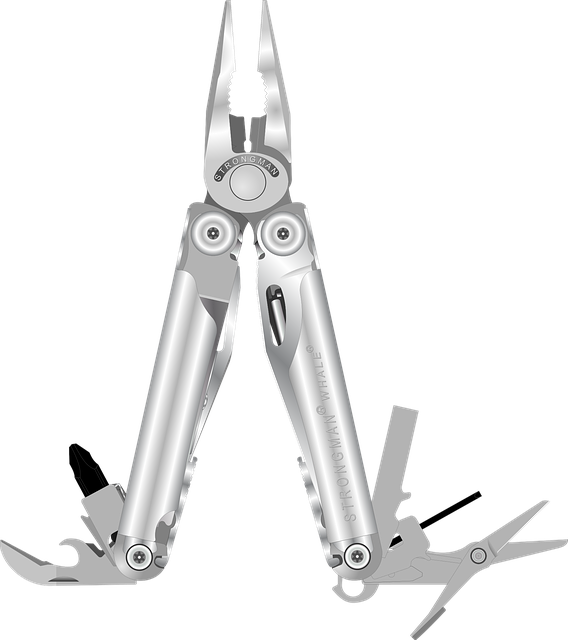
Apron assembly repair is a meticulous process that demands precision and attention to detail. To ensure efficient repairs, follow this step-by-step guide. Begin by thoroughly inspecting the apron for any damage, including tears, holes, or cracks. Identify the extent of the issue and gather the necessary tools and materials – think replacement fabric, stitching thread, and a robust set of sewing equipment.
Next, carefully clean the affected area to remove dirt, debris, or existing repair residue. This step is crucial for achieving a secure bond between new material and the car body. Once pristine, prepare the patch by cutting the replacement fabric to size. Ensure it perfectly aligns with the damaged section. Proceed with meticulous stitching, securing the apron assembly repair in place. Finally, inspect your handiwork, making sure seams are tight and even, ensuring a seamless fit that complements the car’s overall aesthetics. Consider these steps as part of your comprehensive car repair services or visit a reputable car body shop for professional assistance.
In conclusion, mastering apron assembly repair involves a combination of understanding repair needs, employing proper surface preparation techniques, and following a systematic guide. By adhering to these steps and leveraging the right tools and materials, you can achieve optimal results in repairing and restoring aprons to their original condition, ensuring longevity and aesthetic appeal. Remember, meticulous preparation and precise execution are key to successful apron assembly repair.