

Apron assembly repair focuses on distinguishing between structural and cosmetic damage for efficient repairs. Structural issues, like cracked metal panels, require professional collision repair techniques for safety. Cosmetic problems can be addressed with specialized touch-up methods. Skilled technicians use advanced welding, fabrication, or high-quality parts for structural repairs and simple tools for aesthetics. The guide outlines a step-by-step process, starting with damage inspection, using appropriate techniques like plastic welding, and ending with painting for optimal results.
Apron assemblies, integral parts of aircraft structures, require meticulous care during repairs, distinguishing between structural and cosmetic damage. This article delves into the nuanced world of apron assembly repair, offering a comprehensive guide for aviation professionals. We explore how to assess different types of damage, from severe structural issues to minor aesthetic flaws. By understanding these distinctions, technicians can employ tailored repair methods, ensuring safety, longevity, and cost-effectiveness in apron assembly repairs.
- Understanding Structural vs Cosmetic Damage in Apron Assemblies
- Evaluating Repair Methods for Different Types of Damage
- Step-by-Step Guide: Effective Apron Assembly Repair Techniques
Understanding Structural vs Cosmetic Damage in Apron Assemblies
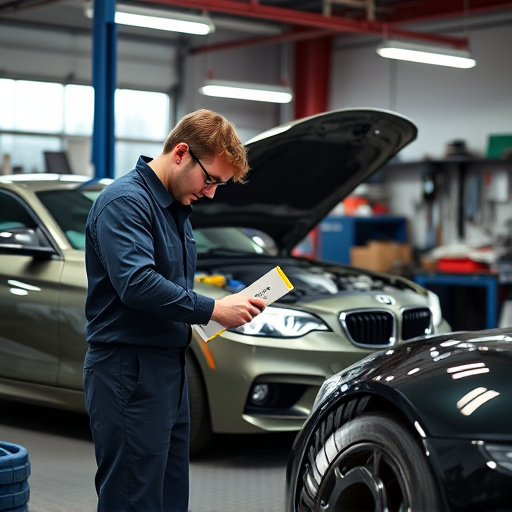
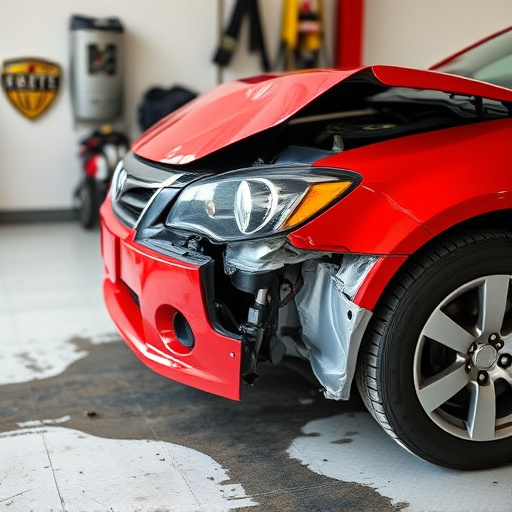
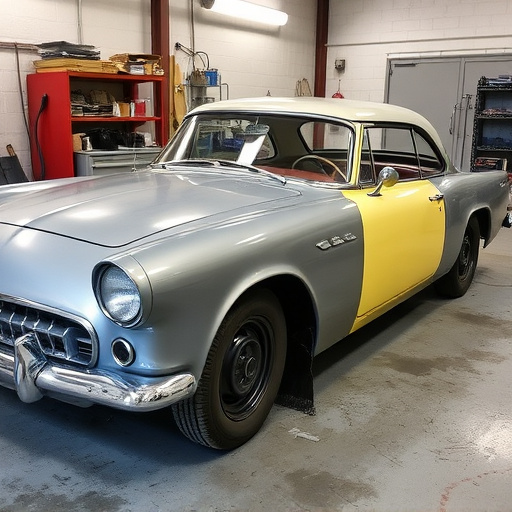
Apron assemblies, integral parts of a vehicle’s underbody, bear the brunt of everyday driving and external impacts. Distinguishing between structural and cosmetic damage in apron assembly repairs is crucial for effective and efficient fixing. Structural damage refers to significant alterations or failure of the assembly’s load-bearing components, often caused by severe collisions or accidents. This necessitates expert intervention from a collision repair shop to ensure safety and vehicle integrity. On the other hand, cosmetic damage involves surface scrapes, dents, or cracks that might not compromise the structural integrity but significantly affect the aesthetic appeal of the apron assembly.
While autobody repairs for cosmetic damage can often be straightforward, focusing on aesthetics, structural repairs demand a more meticulous approach. Collision repair specialists must assess each component’s condition, replacing only what’s necessary to prevent further issues and ensure optimal vehicle performance after apron assembly repair.
Evaluating Repair Methods for Different Types of Damage

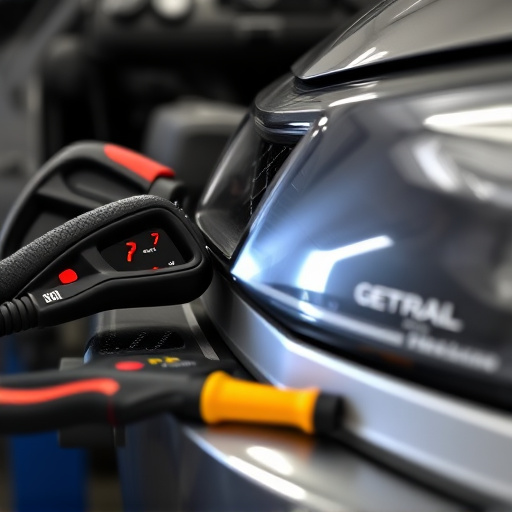
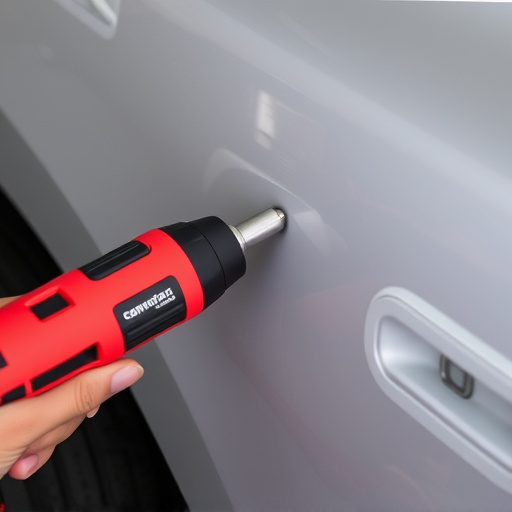
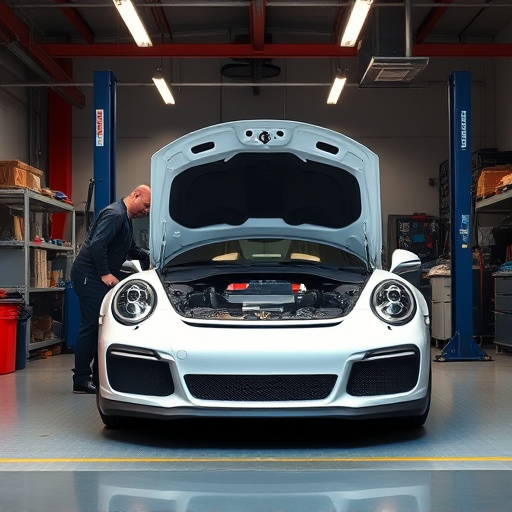
When it comes to apron assembly repair, evaluating the type and extent of damage is crucial before deciding on a suitable repair method. Different types of damage, whether structural or cosmetic, require distinct approaches. Structural damage, like cracked or deformed metal panels, necessitates professional vehicle body repair techniques to ensure safety and longevity. On the other hand, cosmetic issues such as dents, scratches, or paint imperfections can often be effectively addressed through specialized touch-up processes, saving time and costs associated with comprehensive car damage repair.
In a vehicle body shop, technicians are skilled in diagnosing these problems. For structural repairs, they employ advanced techniques like welding, metal fabrication, or the use of high-quality replacement parts. In contrast, cosmetic apron assembly repair might involve spot painting, panel beating, or simple tools to remove and replace damaged areas. Choosing the right method not only restores the apron’s aesthetics but also maintains the vehicle’s structural integrity, ensuring a safe driving experience.
Step-by-Step Guide: Effective Apron Assembly Repair Techniques
Step-by-Step Guide: Effective Apron Assembly Repair Techniques
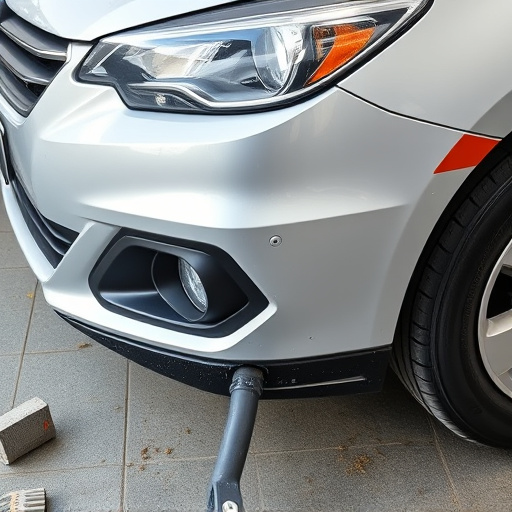
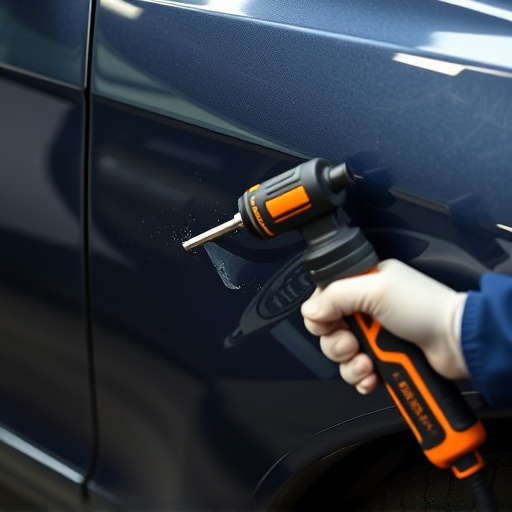
To begin an apron assembly repair, start by thoroughly inspecting the damaged area. Distinguish between structural and cosmetic issues—a crucial step in determining your repair approach. For significant structural damage, like a bent or cracked frame, consider professional car bodywork services that include frame straightening to ensure safety and precision. Begin with minor cosmetic repairs if the apron has dents, scratches, or paint chips using techniques such as plastic welding or injection molding for precise results.
Next, gather the necessary tools and materials, including specialized adhesives, fillers, sandpaper, primer, and paint. Prepare the damaged area by cleaning and decontaminating it to ensure adhesion. Fill and smooth any depressions or holes using automotive-grade filler, then meticulously sand the surface until it’s smooth and even. Apply a coat of primer to neutralize the metal and prepare it for painting. Finally, use high-quality paint designed for car bodywork, allowing it to dry completely before reattaching the apron assembly, ensuring a seamless fit and finish.
When it comes to apron assembly repair, distinguishing between structural and cosmetic damage is key. Each requires a tailored approach to ensure effective and lasting repairs that enhance both functionality and aesthetics. By understanding these differences and employing the right repair methods, you can expertly restore your apron assembly, extending its lifespan and maintaining its integrity for years to come. Remember, proper apron assembly repair not only fixes visual issues but also addresses underlying structural weaknesses, making it an investment in your workspace’s durability and performance.