


Apron assembly repair is a vital process in collision damage restoration, focusing on front-end structural components like fenders and grilles. It involves meticulous disassembly, alignment, replacement, and final quality checks for safety and aesthetics. Best practices include using high-quality parts, proper preparation, precise measurements, and regular training to ensure longevity and superior results in every repair project.
In auto body shops, a well-maintained apron assembly is vital for efficient work areas. This article guides you through the comprehensive process of apron assembly repair, offering a deep dive into the essential steps involved. From understanding the repair process to implementing best practices, we’ll showcase how these techniques ensure longevity and maintain high-quality standards in your shop. By following our step-by-step guide, you’ll streamline workflow and optimize productivity with effective apron assembly repair.
- Understanding Apron Assembly Repair Process
- Step-by-Step Guide to Efficient Repair
- Best Practices for Longevity and Quality Assurance
Understanding Apron Assembly Repair Process
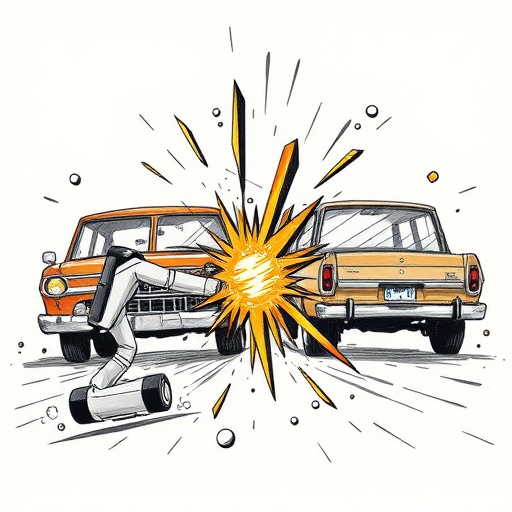
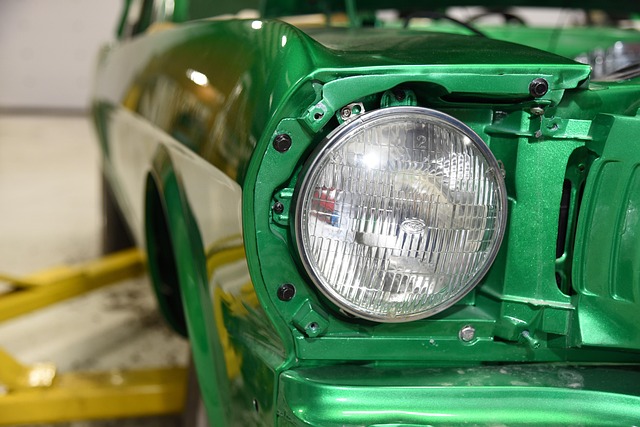
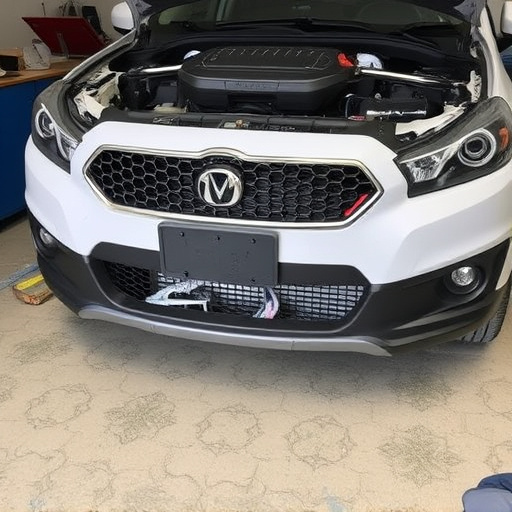
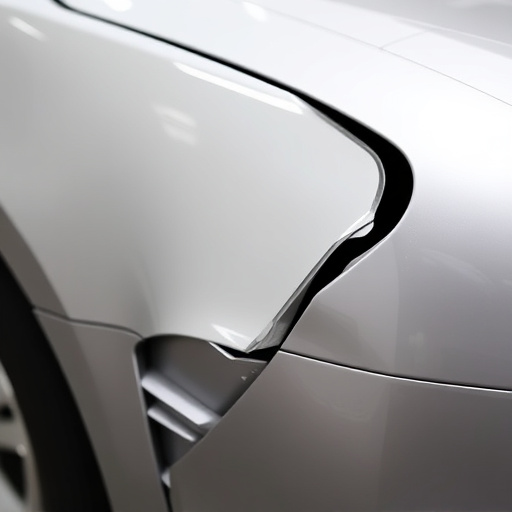
In the realm of automotive body shops, apron assembly repair stands as a critical aspect of collision damage repair. This intricate process involves the meticulous restoration and reconfiguration of the vehicle’s apron—a structural component that encompasses the front end, including the fenders, grille, and surrounding panels. The apron assembly repair process demands precision and expertise due to its complex nature, especially when dealing with modern vehicles’ advanced design features.
The journey begins with thorough inspection to identify the extent of damage, whether from minor fender benders or severe accidents. Skilled technicians then employ specialized tools and techniques to disassemble the affected parts, allowing for close examination and accurate repairs. This includes aligning panels, replacing damaged pieces, and ensuring seamless integration with the vehicle’s overall structure. Once the repairs are completed, a final quality check guarantees that the apron assembly is structurally sound, contributing to the overall safety and aesthetic appeal of the restored automotive masterpiece.
Step-by-Step Guide to Efficient Repair

Apron Assembly Repair: Streamlining Your Auto Body Shop Workflow
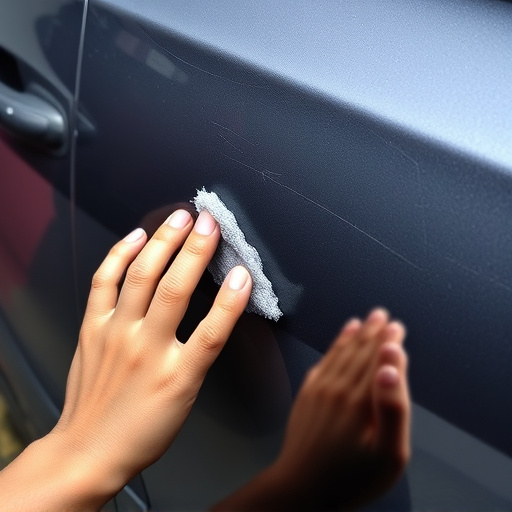
Following a structured, step-by-step approach ensures efficient apron assembly repair, minimizing downtime and maximizing productivity in your auto body shop. Begin by thoroughly inspecting the damaged apron, identifying any cracks, tears, or misalignments. Next, carefully remove any loose debris or old adhesive residue to create a clean surface for repair. Use high-quality bonding agents suitable for automotive materials, applying them evenly across the affected areas and allowing sufficient drying time according to the manufacturer’s instructions. Once dry, expertly patch and sand the repaired sections, achieving seamless integration with the surrounding apron material. Finally, apply a coat of matching paint or finish, ensuring a flawless aesthetic blend that restores the vehicle’s original appearance and protects against future damage.
This meticulous process combines scratch repair techniques with precise vehicle body repair and restoration practices to deliver superior results for every apron assembly repair project.
Best Practices for Longevity and Quality Assurance

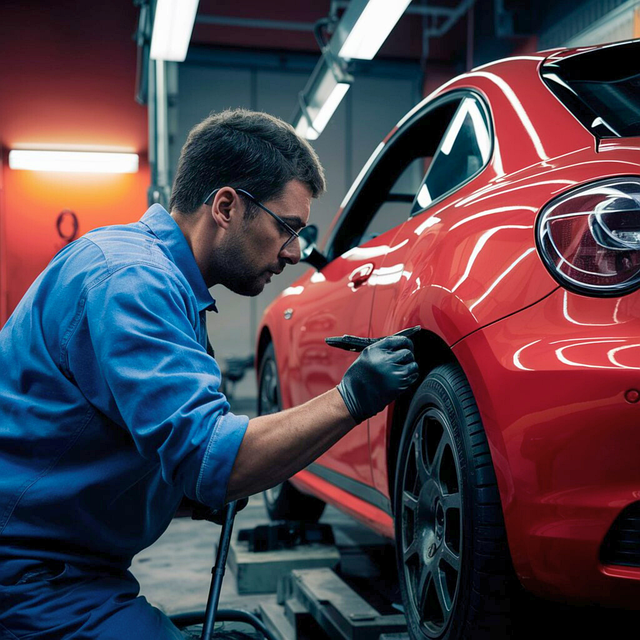
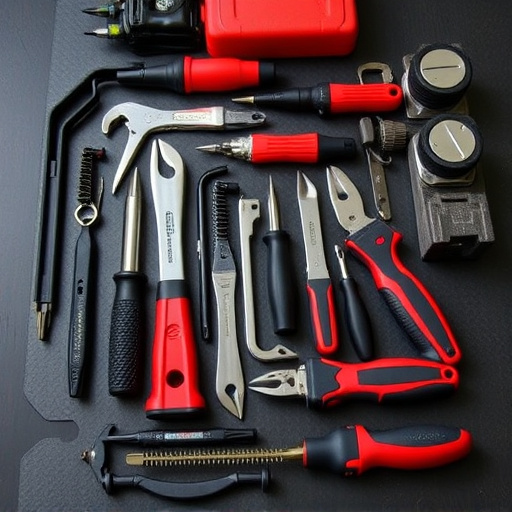
To ensure the longevity and quality of apron assembly repairs, auto body shops should adhere to best practices. This starts with using high-quality materials that are specifically designed for automotive applications. Genuine or certified replacement parts are ideal, as they maintain the original fit, finish, and structural integrity. Additionally, proper preparation of the repair area is crucial; this includes thorough cleaning, degreasing, and surface treatment to promote optimal adhesion of new components.
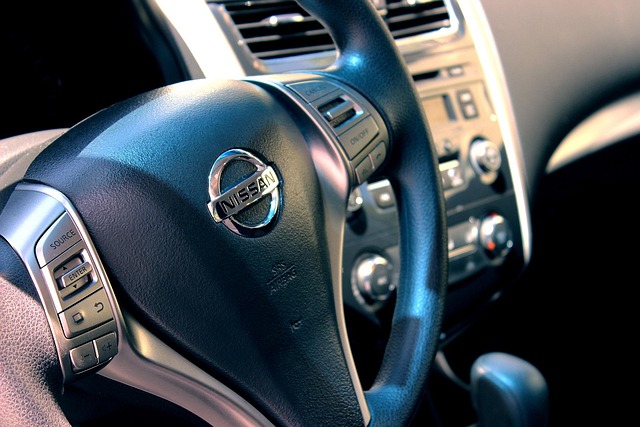
Inspecting each apron assembly part before installation and using industry-standard tools for precise measurements and adjustments guarantees a secure fit. Following recommended manufacturing procedures during reassembly ensures structural soundness and aesthetic harmony with the vehicle’s other panels, such as in the case of Mercedes Benz collision repair or general car paint services. Regular training and updates on best practices for apron assembly repair can significantly enhance quality assurance within the shop’s workflows.
Apron assembly repair is a critical process in auto body shops, ensuring vehicle aesthetics and structural integrity. By understanding the step-by-step guide and best practices outlined in this article, professionals can efficiently and consistently deliver high-quality repairs. Implementing these strategies not only streamlines workflows but also enhances customer satisfaction, making every apron assembly job a success story.