


Apron assembly repair is a critical process for automotive body repairs, focusing on underbody component reconstruction, structural integrity maintenance, and secure fitment. It involves mounting brackets, support beams, and safety features to dissipate collision energy, preventing future damage. Skilled mechanics must be meticulous to avoid incorrect reassembly or using incompatible parts, ensuring vehicle safety and customer satisfaction. This guide outlines a step-by-step approach: inspect damage, gather tools/parts, demount faulty apron, clean area, align new pieces, secure with correct fasteners, and test structural integrity.
Apron assembly, a vital component in various industries, requires meticulous care during repair to ensure optimal functionality. This article guides you through the process of repairing apron assemblies, highlighting key components and their functions. By understanding common mistakes to avoid, you can efficiently navigate the repair process. We provide a step-by-step guide with practical techniques, ensuring your apron assembly repairs are successful and lasting. Learn how to optimize your repair efforts and prevent future issues with these essential tips on apron assembly repair.
- Understanding Apron Assembly: Key Components and Functions
- Common Mistakes to Avoid During Repair Process
- Step-by-Step Guide: Efficient Apron Assembly Repair Techniques
Understanding Apron Assembly: Key Components and Functions
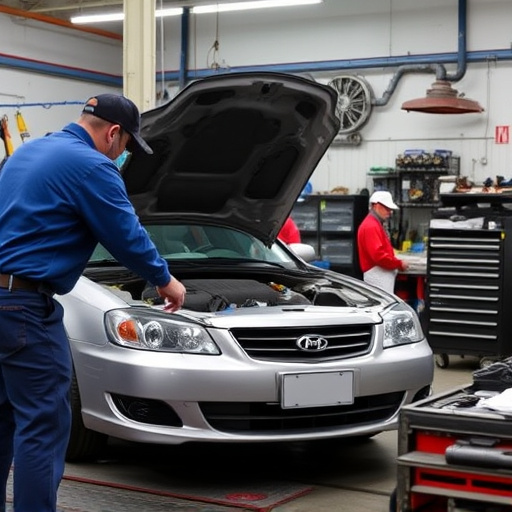
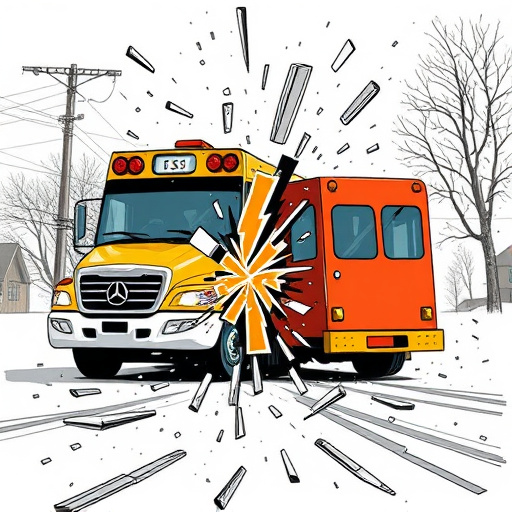
Apron assembly is a crucial aspect of automotive body repairs, especially for collision repair shops and those specializing in bumper repair. It involves the careful reconstruction of a vehicle’s underbody components, ensuring structural integrity and a seamless fit. The apron, often overlooked but vital, connects the chassis to the body panel, forming a protective barrier around the vehicle’s sensitive undercarriage. This assembly includes various key components like mounting brackets, support beams, and safety features designed to absorb impact energy during a collision, preventing further damage to other critical parts.
Understanding these mechanisms is essential for any collision repair shop or skilled mechanic attempting apron assembly repair. Proper alignment and secure fastening of these components are vital to avoid future issues, such as loose parts causing additional scratch repair work or compromising the vehicle’s safety features. By recognizing the functions and interactions of these parts, technicians can efficiently navigate complex repairs, ensuring customer satisfaction and vehicle safety.
Common Mistakes to Avoid During Repair Process

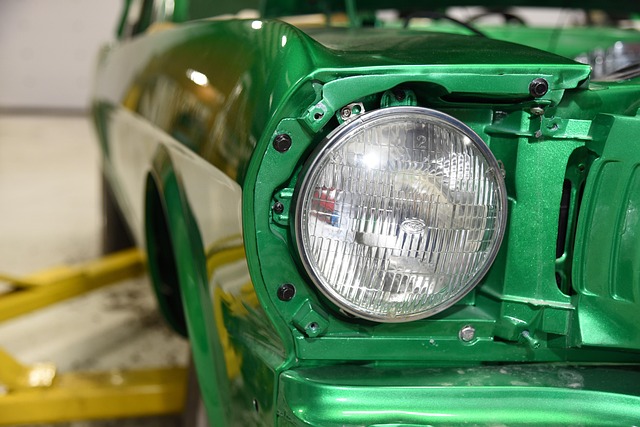
When undertaking an apron assembly repair, it’s crucial to stay focused and meticulous to avoid common pitfalls. A frequent mistake is inadequate preparation, where rushed or incomplete disassembly leads to incorrect reassembly later on. Every auto repair shop knows that taking the time to fully understand and document each step of the original assembly process is vital for seamless repairs. Neglecting this foundation can result in misaligned parts, compromised structural integrity, and even safety hazards for vehicles passing through an auto repair near me.
Another blunder to steer clear of is using incompatible or subpar replacement parts. Using generic or low-quality components, especially with vehicle bodywork, can lead to weakened joints and premature failure. Ensure every apron piece, from the frame to the hardware, matches the original specifications. This attention to detail not only guarantees a durable repair but also prevents future damage that could be caused by vibrations or impact during driving.
Step-by-Step Guide: Efficient Apron Assembly Repair Techniques

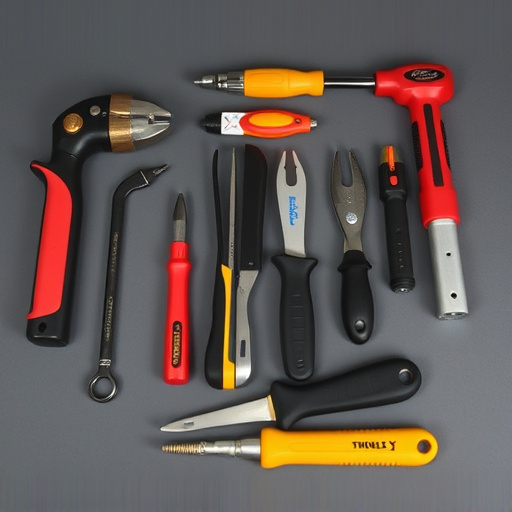
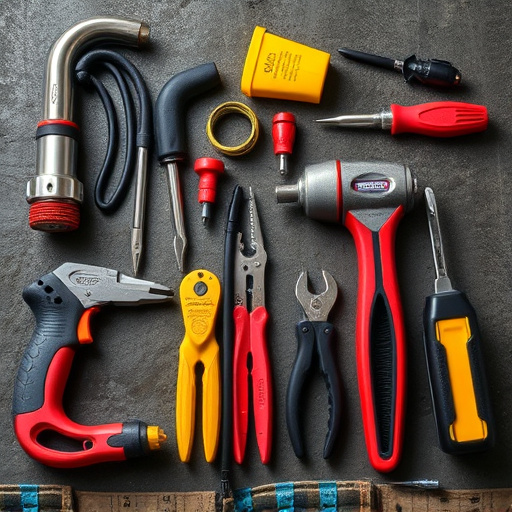
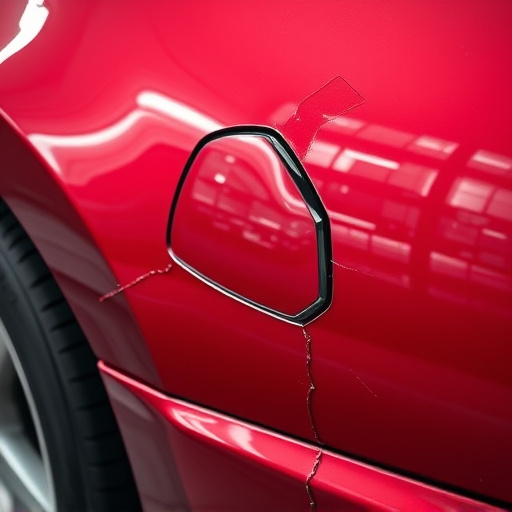
Apron assembly repair is a crucial skill for anyone involved in classic car restoration or vehicle collision repair. To ensure precision and efficiency, follow this step-by-step guide. Start by thoroughly inspecting the apron, identifying any damaged or worn-out components. Next, gather all necessary tools and replacement parts, ensuring compatibility with your specific vehicle model.
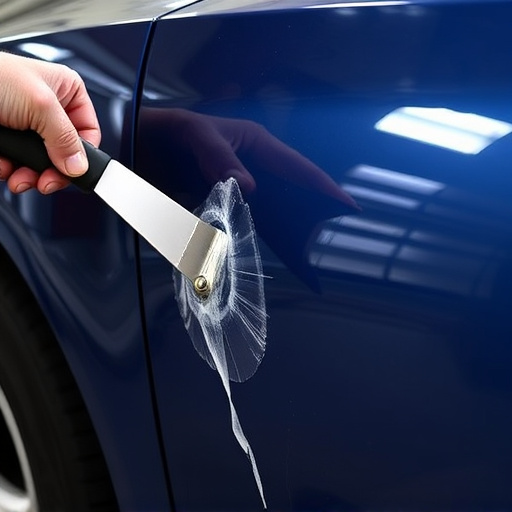
Demount the faulty apron, taking note of how each piece is attached. Clean the assembly area to prevent debris from causing further issues. With a sharp eye, align and fit the new apron pieces, following manufacturer instructions for optimal placement. Secure the repaired apron using appropriate fasteners, tightening them evenly for a sturdy hold. Test the repair by simulating regular use, ensuring there are no loose parts or structural weaknesses.
Apron assembly repair is a crucial skill for maintaining your workwear and ensuring its longevity. By understanding the key components and functions of an apron, recognizing common mistakes to avoid, and following a step-by-step guide, you can efficiently restore your apron to like-new condition. Remember, proper apron assembly repair techniques not only save money but also contribute to a more durable and functional piece of work gear. Implement these tips for optimal apron assembly repair and keep your apron looking sharp for years to come.